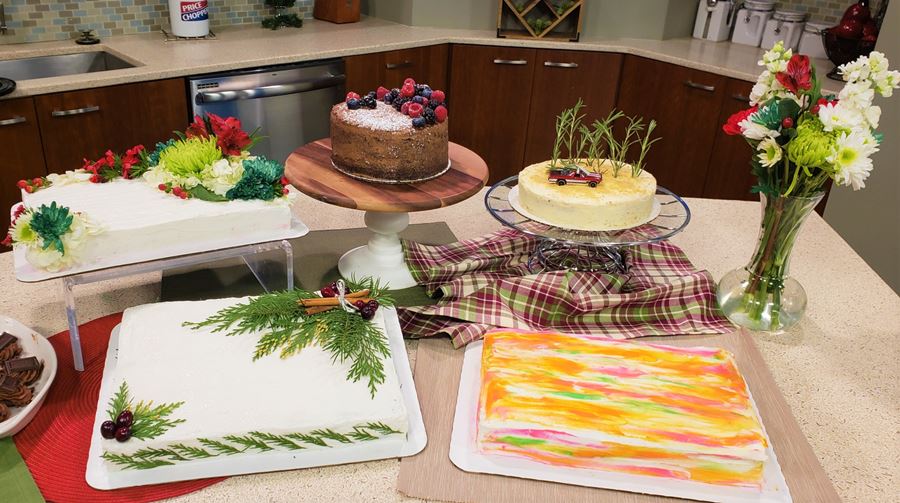
It’s happened to all of us. We need to pick up a cake last minute. We don’t have time to order one or the baker’s already gone for the day. No worries! We’ve got 5 easy ways to turn a standard store-bought cake into a beautiful holiday centerpiece.
All of the following cakes started as a typical birthday cake that you can pick up in your local Price Chopper’s bakery. Ready to go, off the shelf.
Before you get started decorating, you will need to do a little prep:
- Using a butter knife or icing knife, carefully remove all colored icing from the edges. It doesn’t have to be perfect, but get as much color off the base icing layer as possible.
- Smooth base layer of icing as much as possible to remove any evidence of the previous decorations. Use extra icing from the cake aisle if necessary.
- Clean up edges of cake and cardboard sheet.
Now, you’re ready to turn your cake into a masterpiece.
Pick up a winter bouquet from Price Chopper’s floral department when you pick up the cake. One by one, trim the stems of the flowers you want to use down to approximately an inch. Starting with the largest flowers first, place the stems straight down into the cake. Work out from the larger flowers with medium and small flowers - following the edge of the cake. TIP: You can insert the stem into a trimmed piece of straw to minimize the contact the flowers have with the actual cake.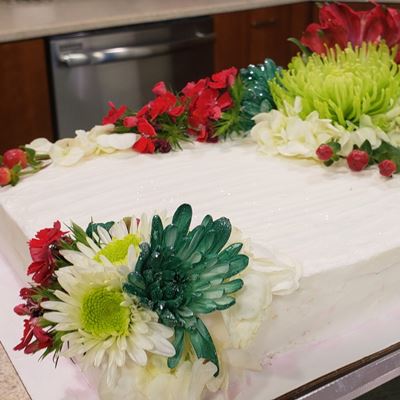
1. Winter Floral
Evergreen bouquets are also available in the floral department at Price Chopper. Or you can simply snip a few sprigs off of your pine tree or evergreen bush. Arrange the sprigs to create somewhat of a frame around the edge of the cake. Add accents with cinnamon sticks and cranberries. TIP: Add a tiny bit of frosting to the bottom of the cranberries to help them stick where you want them. TIP: Add a tiny bit of frosting to bottom of each berry to help it stay in place. TIP: Use a sifter to create the perfect “snowed upon” look with the powdered sugar.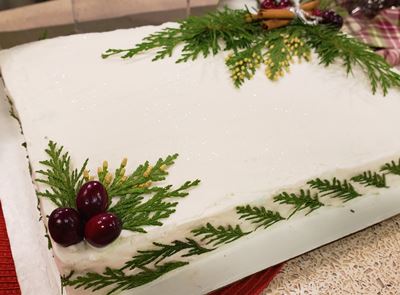
2. Evergreen Accents
This works best with layered cakes. Carefully remove all extra icing decor. Using a clean, smooth knife continuing removing icing until you have a very thin layer of icing all around. Starting on the edge, place a variety of berries closely together. Continue placing berries, following the edge of the cake until you create a crescent shape with them. Add additional berries on the inside and on top of already placed berries to create height. Top with a small amount of powdered sugar.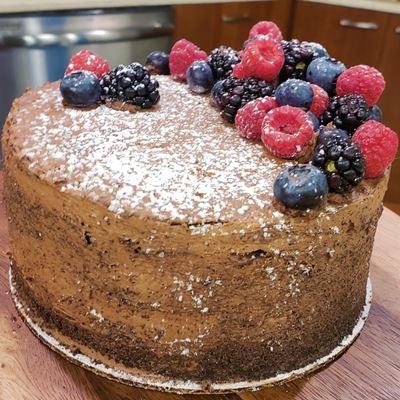
3. Naked Berries
We used a carrot cake for this fun scene. First, carefully remove any top decorations and any crumbs from the sides. Smooth icing to create a blank slate. Sprinkle graham cracker crumbs to create a “bed of sawdust”. Trim 4-5 inch sections of rosemary (or pine sprigs). Place sprigs one by one vertically into the top of the cake. Arrange to look like a Christmas tree farm. Tie one last rosemary sprig to the top of a Hot Wheels car, and place the car in front of your Christmas tree farm. TIP: The more vintage the Hot Wheels car, the better.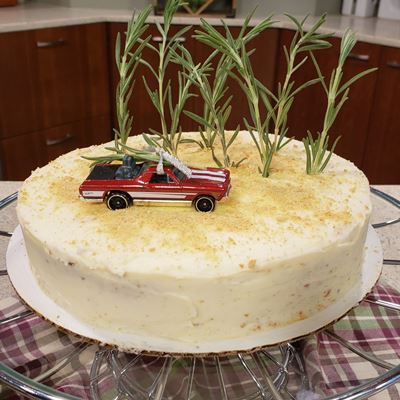
4. Choose your own Tree
This last method isn’t necessarily specific to the holidays, but we still love it. (And it’s really easy to do.) For this fun design, make sure to select a cake from the shelf that has 2-3 colors of decorative icing on the edges. Again, start by carefully removing all the decorative icing, but make sure to keep the different colors separate. Once you have a clean slate to work with, mix the first color until the icing is a smooth consistency. With your spreader (or butter knife), put small dabs of color all around the cake - like polka dots. Follow with the second and third colors. Once you have multicolored polka dots all over the cake, take the straight edge of the knife and smooth the dabs of color into each other. This does not need to be neat. Continue until the colors are smeared all around the cake. The end result should look like you took a page from Monet’s Waterlilies. TIP: When smoothing colors together, start at one and pull all the way through to the other edge without stopping. This will create the smoothest look.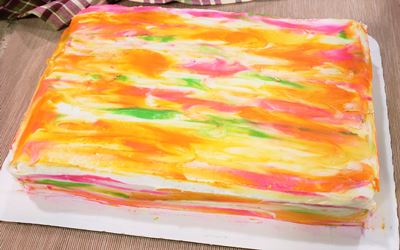
5. Watercolors


